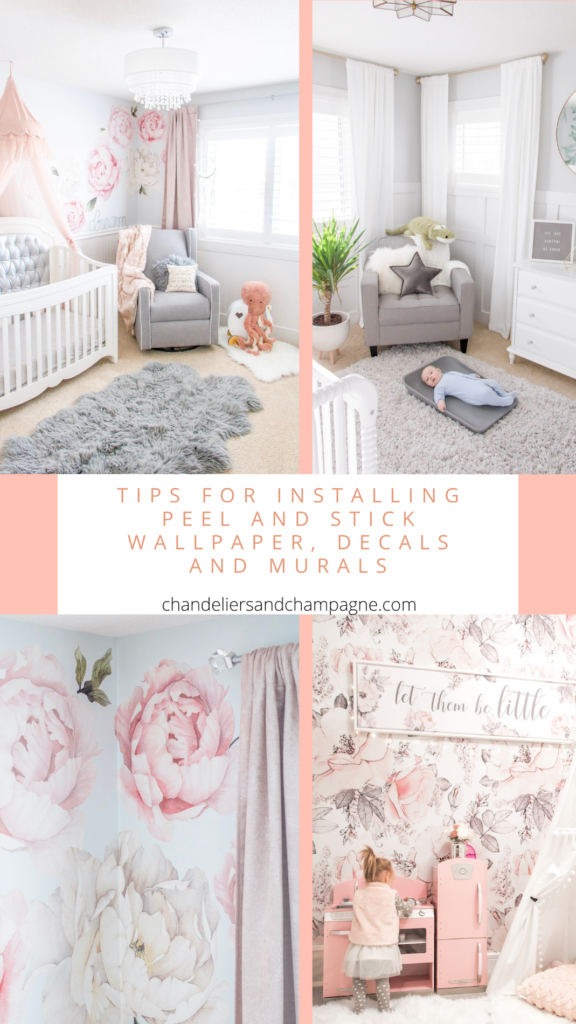
Ready to transform your child’s walls from drab to fab with a fun, removable print? Today I’m sharing my tips on installing peel and stick wallpaper, decals and murals.
One of my most frequently asked home decor questions is related to the wall treatments in the kids’ rooms and any tips I have for installing peel and stick wallpaper. Here’s everything I’ve learned over the years from completing seven (yes, seven!) different spaces with removable wall art.

Quality matters
When it comes to selecting your peel and stick wall art, read the reviews carefully and ensure you’re buying from a quality brand.
I’ve found the greatest success in using wallpaper with a textured or linen finish. They’re thicker – almost like a wall fabric – and smooth onto the walls much easier.
If you choose a peel and stick wallpaper that is too thin and smooth, it increases the chances of the wallpaper:
- creasing while you’re trying to smooth out air bubbles
- ripping
- folding in on itself and becoming unusable
- showing wall imperfections
- being more difficult to work with
- taking more time to hang
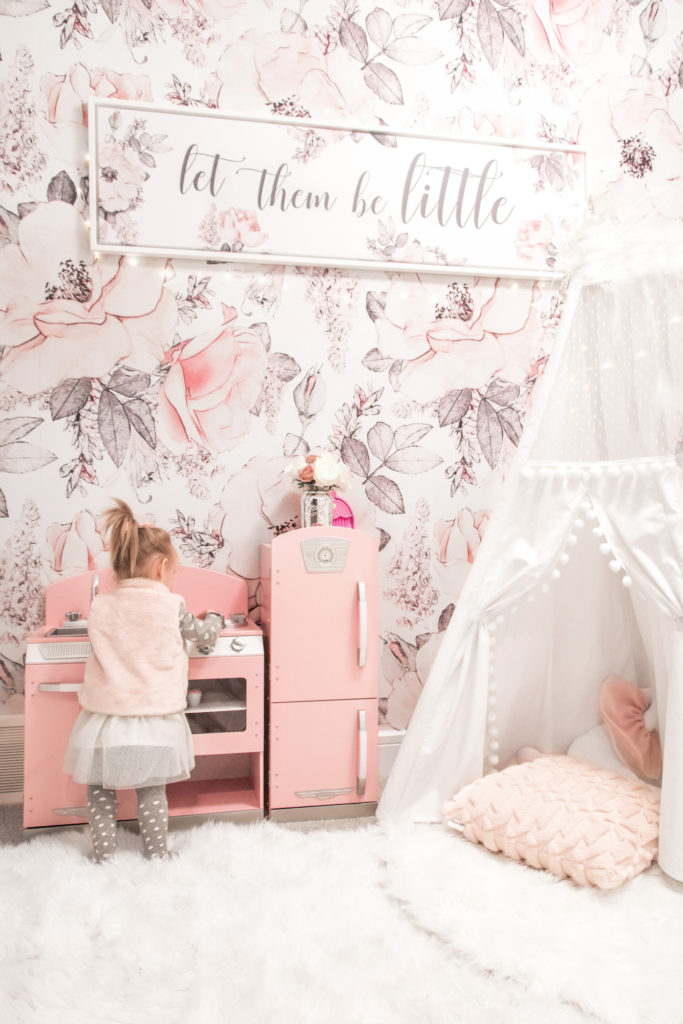
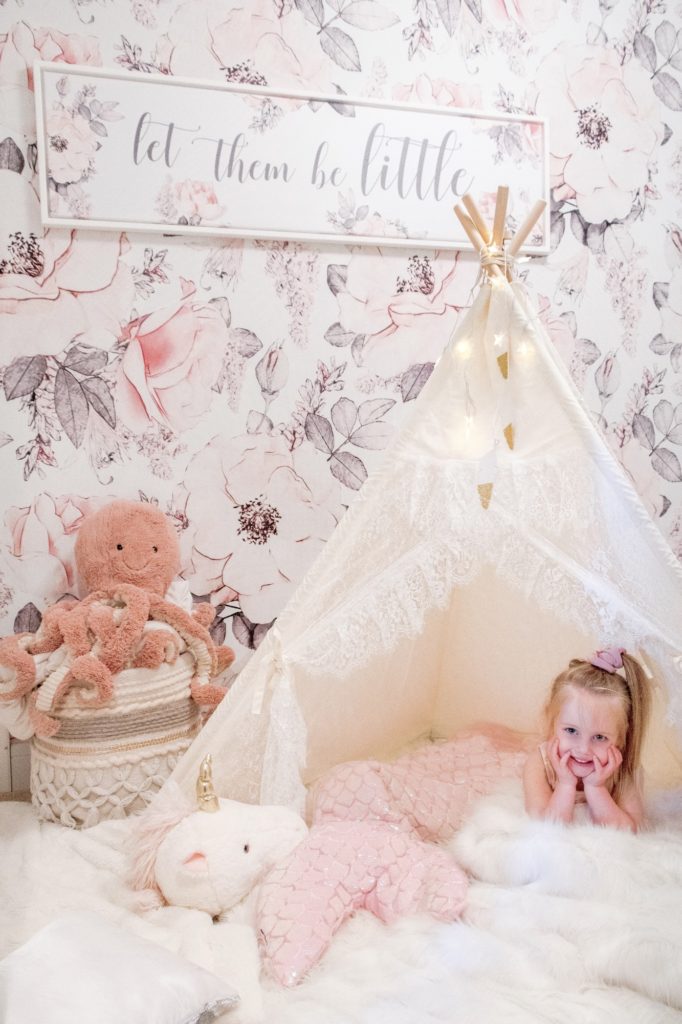
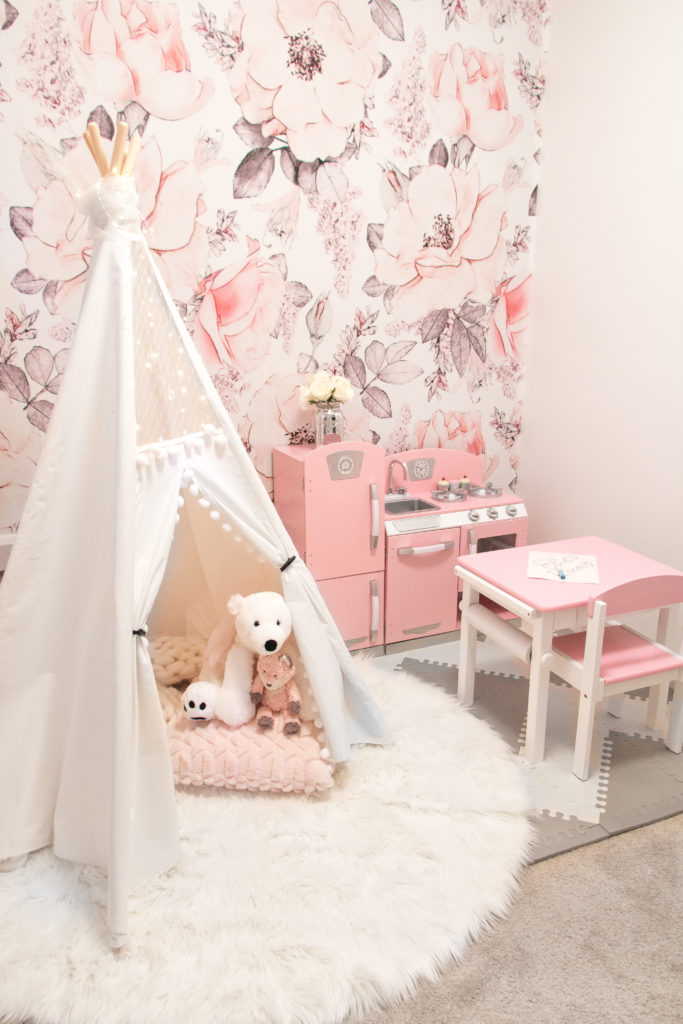
All the wallpapers I’ll be sharing from this post are from Rocky Mountain Decals and were SO easy to work with. I’d also highly recommend Canvas n’ Decor – I’ve decorated two rooms with their linen-finish wallpaper and it was fab.
How to apply peel and stick wallpaper and murals
1. Recruit someone to help you
While it’s technically possible to do this job alone, I definitely wouldn’t recommend it! It’ll go so much more smoothly (pun intended) with a second set of hands.
2. Prep your walls
Peel and stick wallpaper adheres best to clean, dry, smooth walls.
I’d recommend patching any dents and sanding any noticeable bumps so that your walls are nice and smooth. Wipe them down with some warm water to remove dust, allowing to fully dry. Also, turn off your breaker and remove all faceplates and socket covers.
3. Grab the tools you’ll need
When installing my wallpaper and mural, I had the following tools handy:
- Step ladder or step stool
- Pencil
- Tape measure
- Steel ruler or straight edge
- Level or plumb bob
- Plastic smoother
- Razor knife (with a sharp blade)
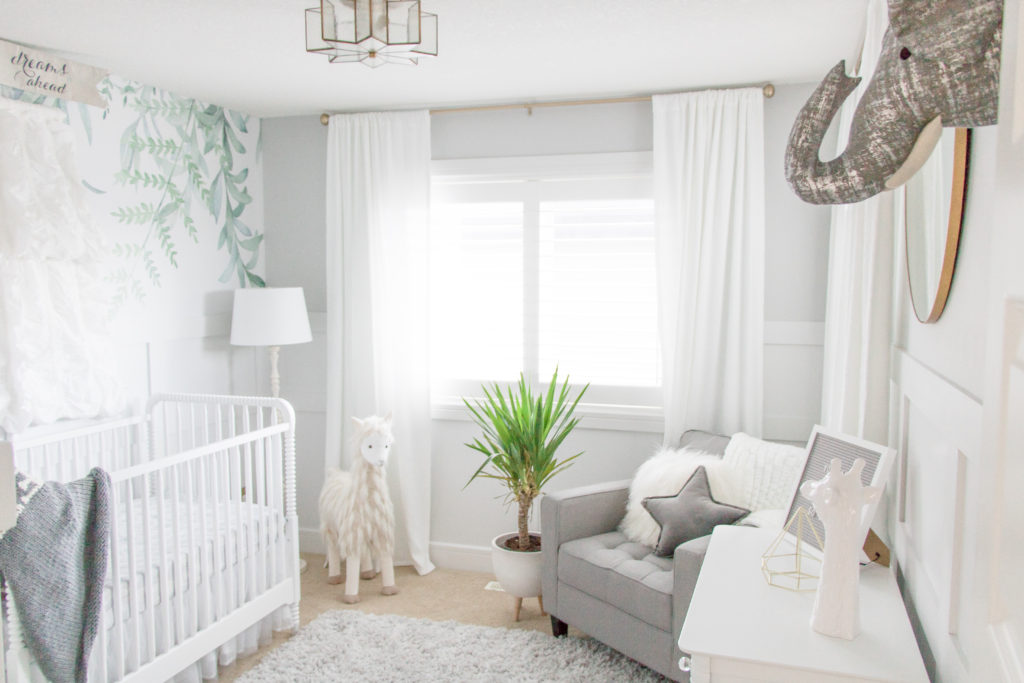
4. Follow the instructions for your provided print
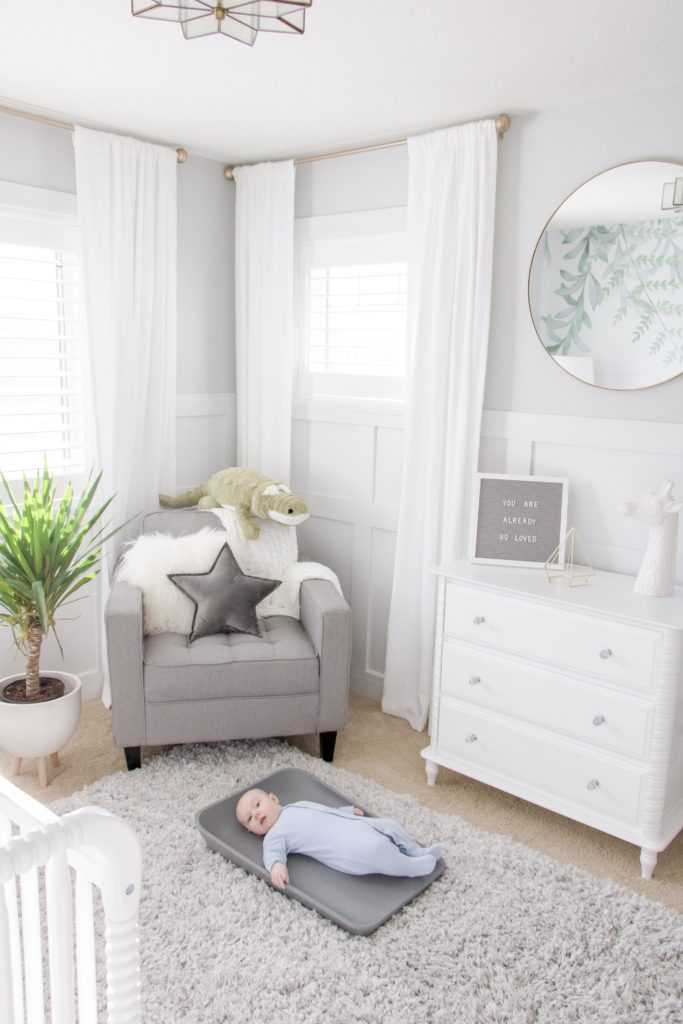
Emmett’s wall mural and the playroom wallpaper was custom-made by Rocky Mountain Decals to fit the dimensions of our rooms and they provided step-by-step instructions specific to the print.
5. Here are some tips I’ve found helpful, regardless of the print:
- I always unroll my wallpaper, separate the panels and mark a “T” for top and a “B” for bottom on the removable plastic backing of each strip. Trust me, at least once during the process you’ll end up holding up the wallpaper the wrong way haha!
- I always mark a plumb line to act as a guide for applying my first strip. Never assume that your wall or ceiling is in alignment. A lot of the time, it’s slightly crooked, which can throw things off a few panels in.
- I order my wallpaper with a bit of extra length and position each panel high enough to overlap the ceiling line by about two inches. I then trim off any excess later.
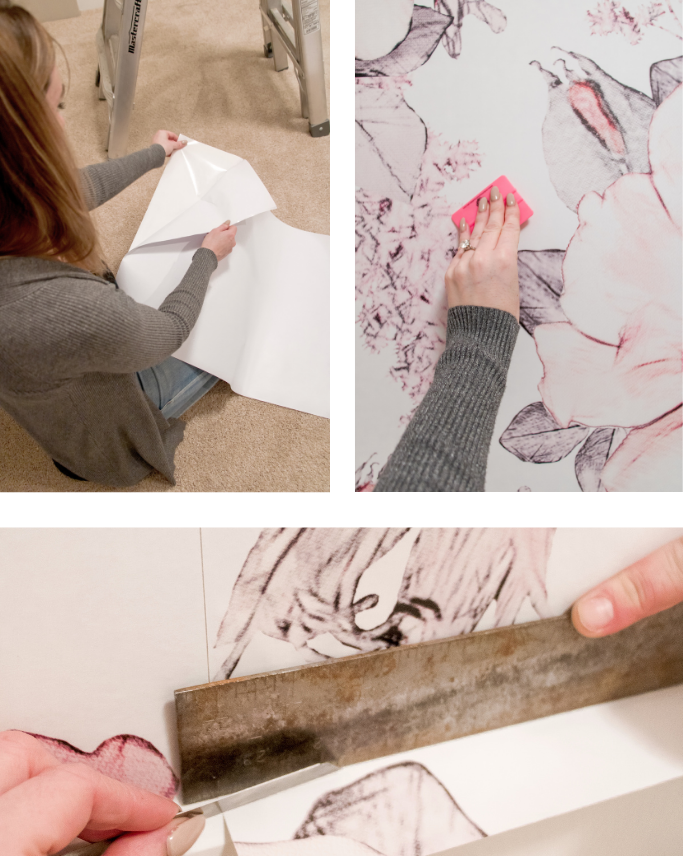
- My sister and I have created quite the rhythm for applying wallpaper. I stand on the stepladder, ensuring each strip is in alignment with the last. When I’m ready, she slowly peels the wallpaper off its plastic backing and holds it out, away from the wall. I then use the plastic smoother and work my way down the wallpaper panel in a back and forth motion, getting rid of any air bubbles as I adhere it to the wall.When the entire wall is done, my sister trims off excess material at the ceiling, baseboard and corners using a straight edge and razor knife. You want to be confident – make a fast, precise cut. Going too slow can cause the wallpaper to bunch and create a less crisp line.
How to Apply Peel and Stick Wall Decals
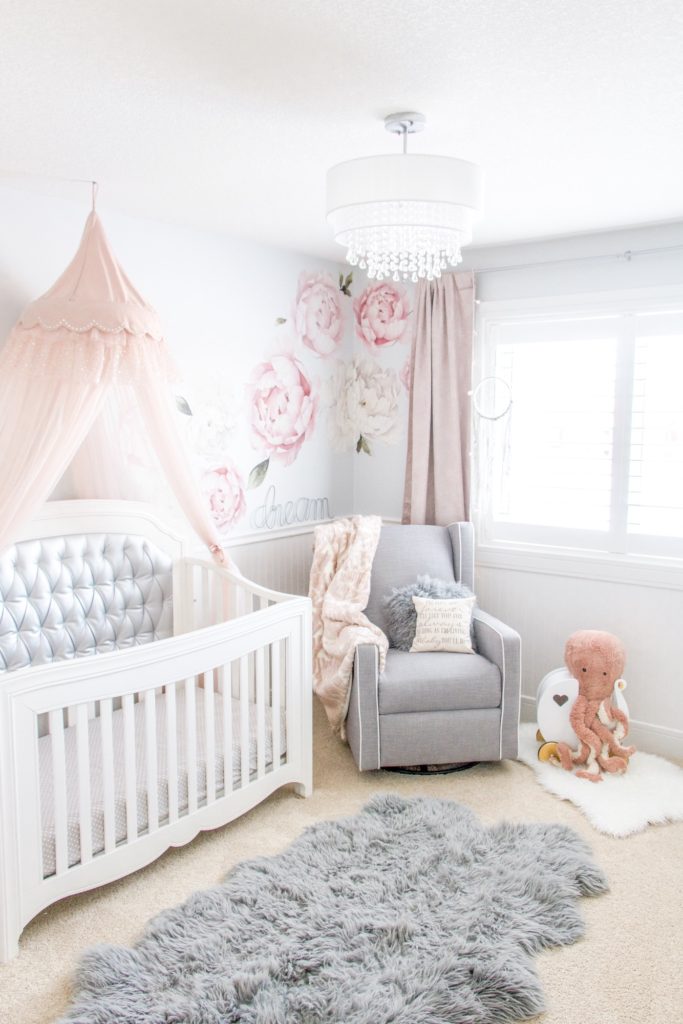
1. Determine if you need a helper
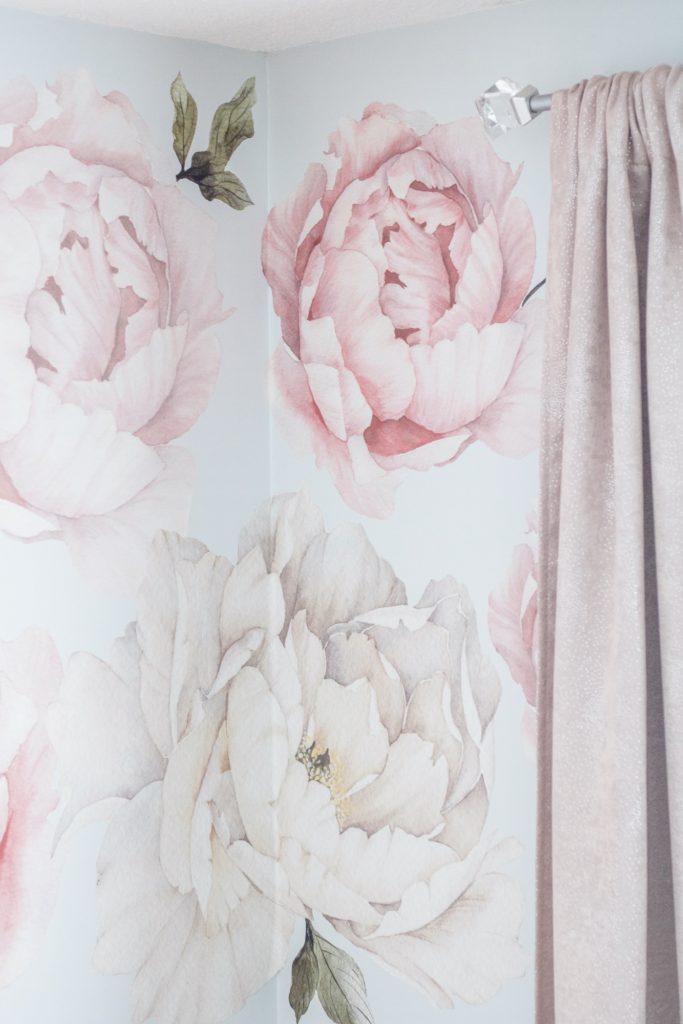
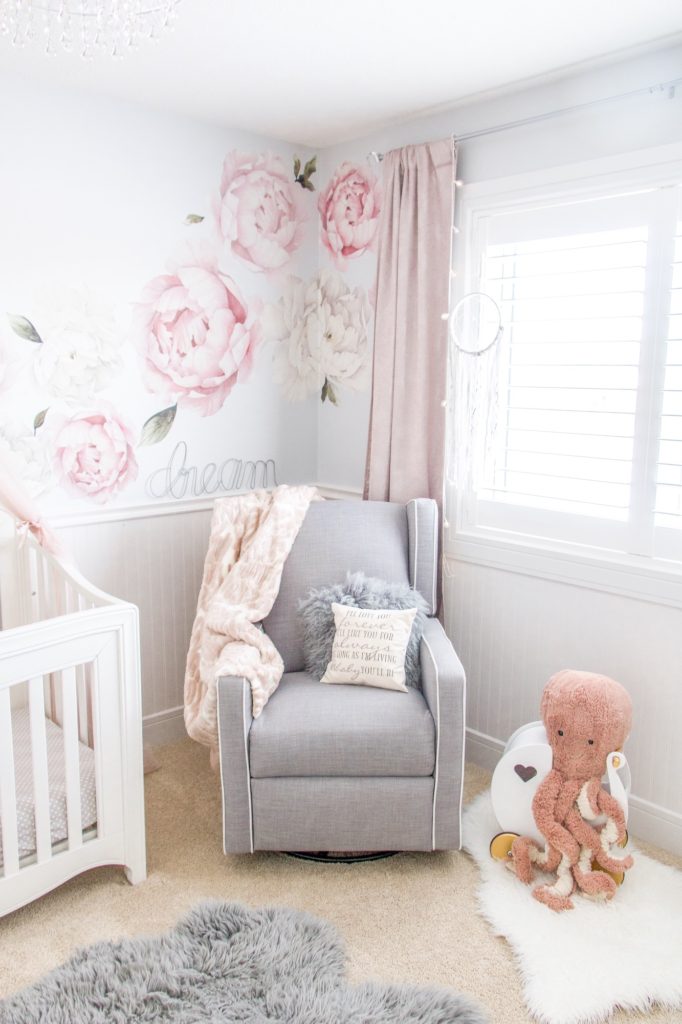
For the most part, applying decals can be handled solo! I had no issue putting up these peonies in Elle’s room on my own.
2. Prep your walls
Peel and stick wall decals adhere best to clean, dry, smooth walls.
I’d recommend patching any dents and sanding any noticeable bumps so that your walls are nice and smooth. Wipe them down with some warm water to remove dust and allow to fully dry.
3. Grab the tools you’ll need
All I required was a steep stool and plastic smoother.
4. Make a game plan
Before applying my decals, I laid them all out on the ground and planned out how I wanted to arrange them on the wall.
5. Smooth them on!
When you’re ready, remove the plastic backing and apply the decals to your wall, smoothing out any air bubbles with a plastic smoother.
Shop Removable Wallpaper
Cute Removable Wall Murals

Shop Removable Wall Decals
Looking for More Kids Room DIY Projects?
Next, check out these incredible kids room DIY projects being shared by my friends. Click the links below the images to visit their posts and see more!
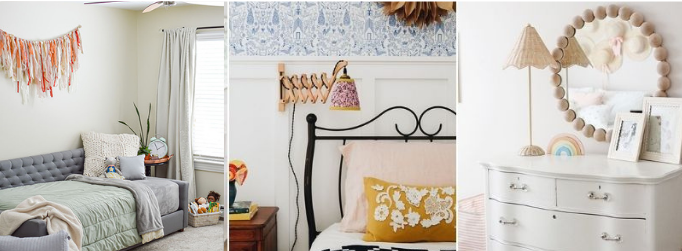
DIY Fabric Garland / The Green Spring Home
DIY Wood Ball Mirror / Courtney M. Browning
DIY Scissor Arm Wall Lamp / Francoise et Moi
I hope this information was helpful! If you have any other questions, I’m happy to answer them in the comments below or via Instagram DM (@chandeliers.and.champagne).
Xo Holly Hunka
Did you enjoy these tips for installing peel and stick wallpaper, decals and murals? Save this post for later on Pinterest.