There’s something about flipping my calendar to October that makes me feel perfectly justified in bringing out ALL the pumpkins! They add such a fun, festive feel to our home in the weeks leading up to Halloween and Thanksgiving.
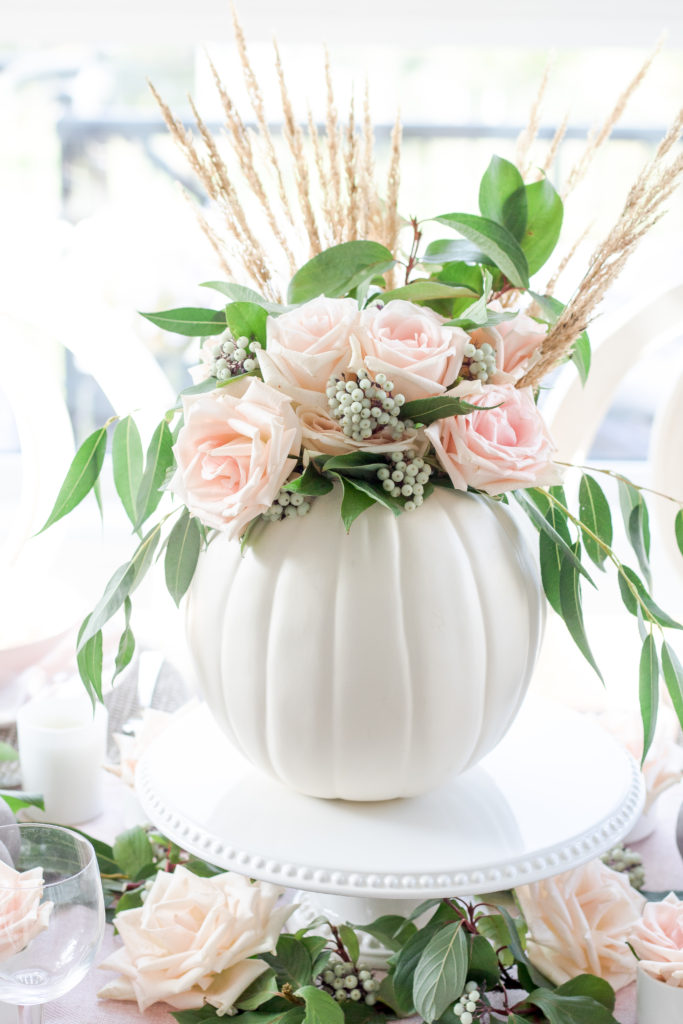
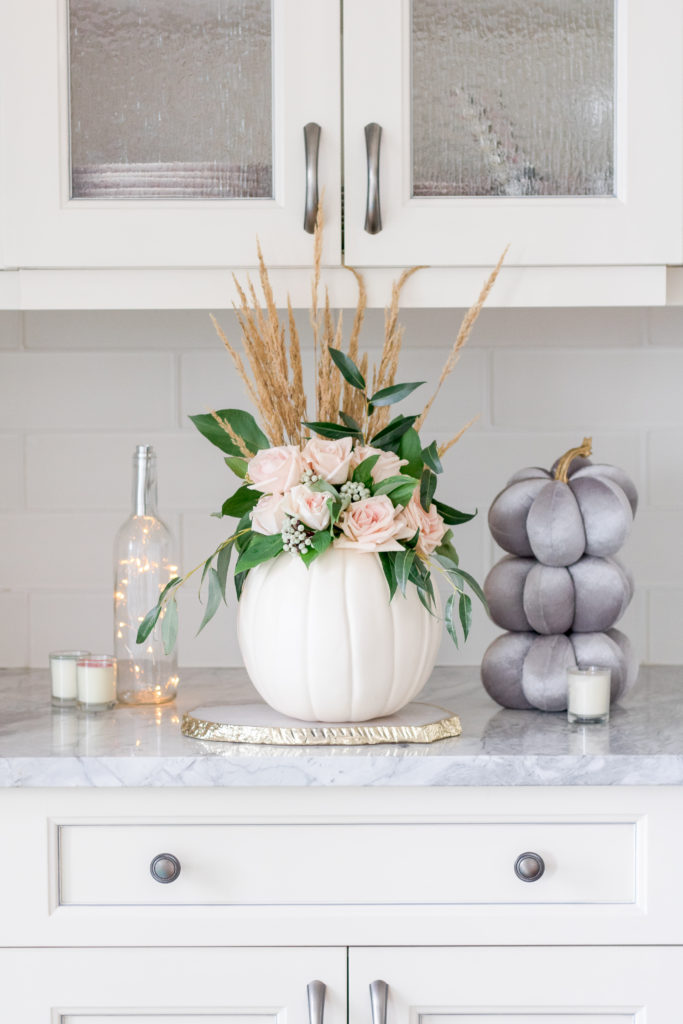
Over the years I’ve decorated with all sorts of pumpkins – from mercury glass and velvet faux pumpkins to fresh baby boos dusted in glitter.
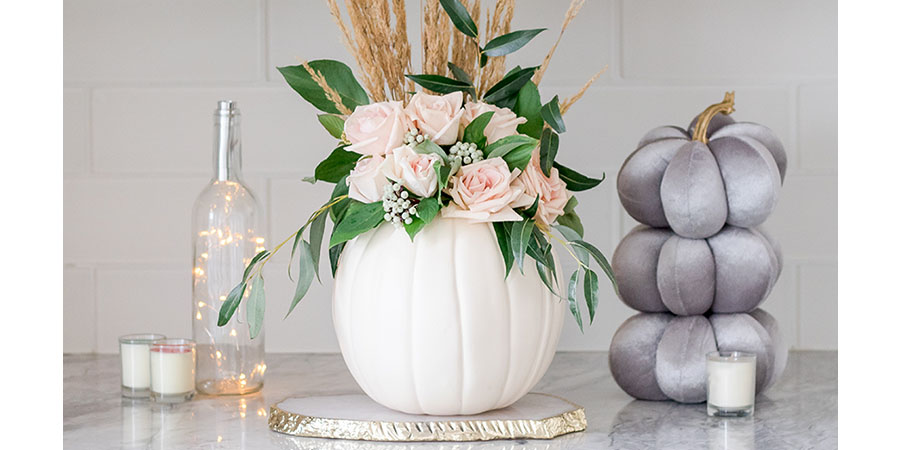
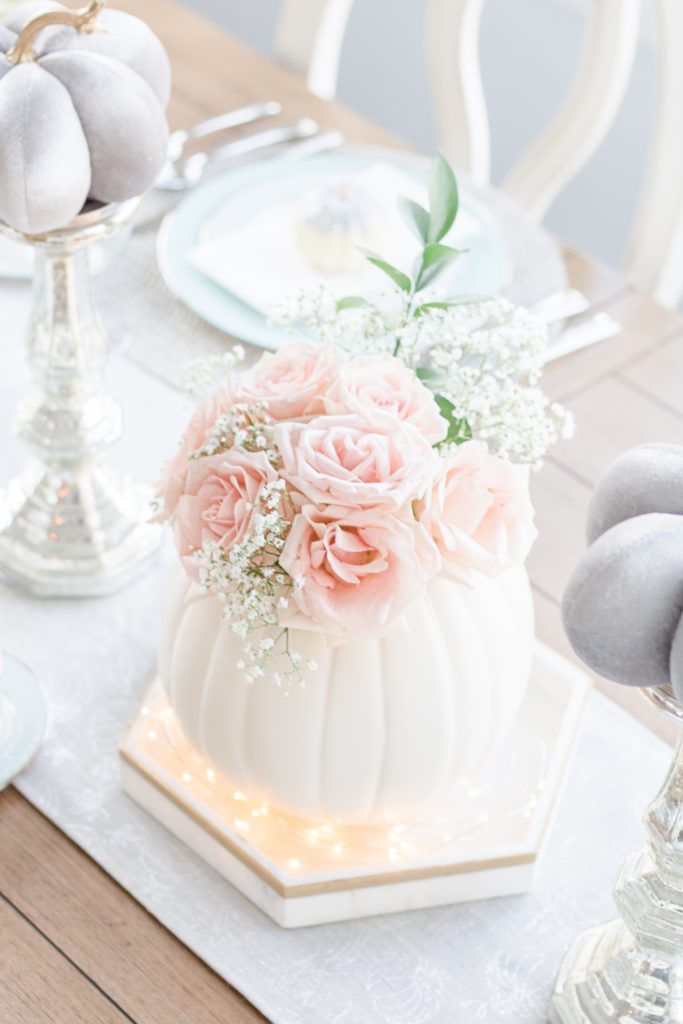
Hands down, though, my favourite pumpkin decor (and the one I get asked SO many questions about) is the DIY pumpkin vase I’ve been showcasing as a Thanksgiving centerpiece and autumn countertop decor the last few years.
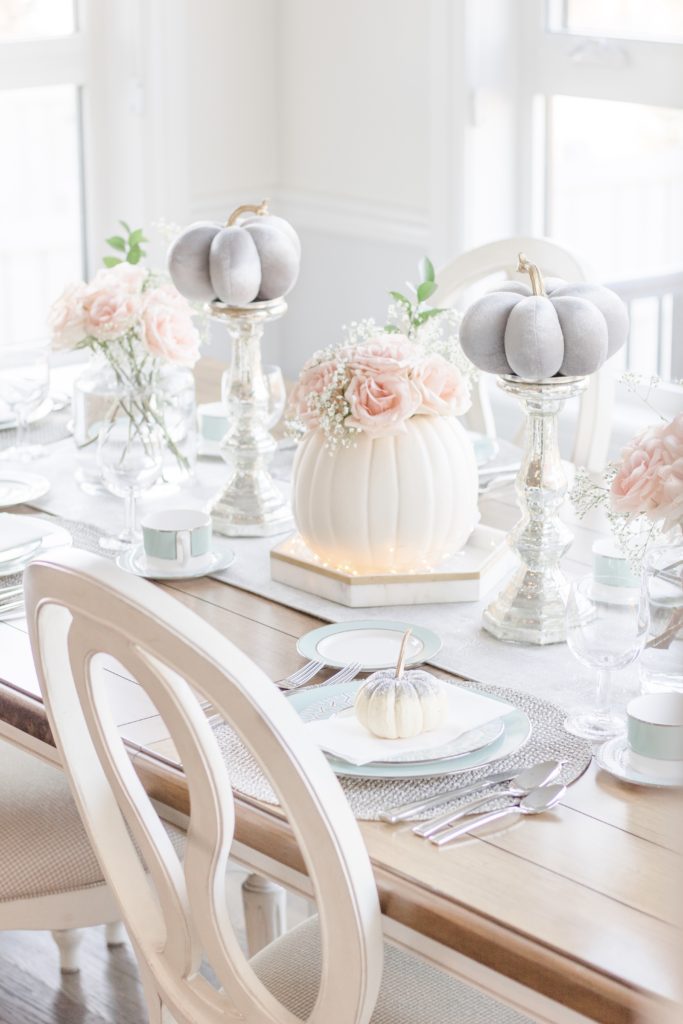
It’s honestly SO easy to make and is guaranteed to turn a few heads at your next dinner. Here’s how it’s done – as well as answers to some of my most frequently asked questions.
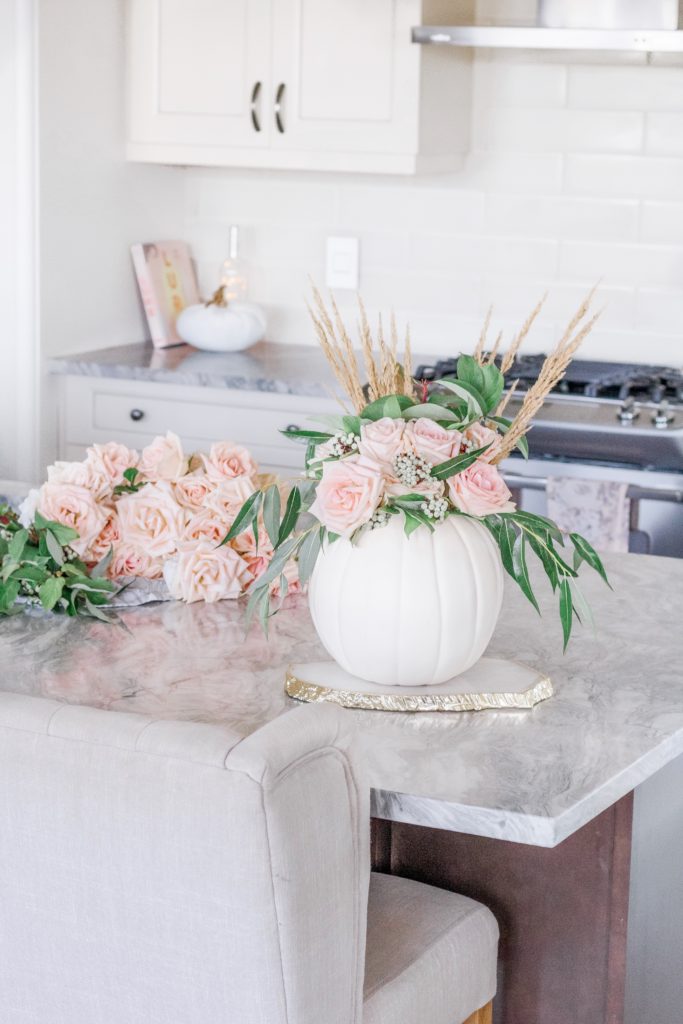
How to make a DIY pumpkin vase
Making this DIY pumpkin vase is easy as pie (lol). Depending on the space you’re decorating, pick an appropriately sized craft pumpkin. I’ve made about ten arrangements in total and found this 6.5 or 9 inch size works great as a centrepiece. It’s large enough to be eye catching but not so tall that guests sitting at the table can’t see one another.
Then, cut the top off the pumpkin (a retracting knife works best), insert a slightly shorter vase, fill it with water and arrange your flowers, with a base of greenery!
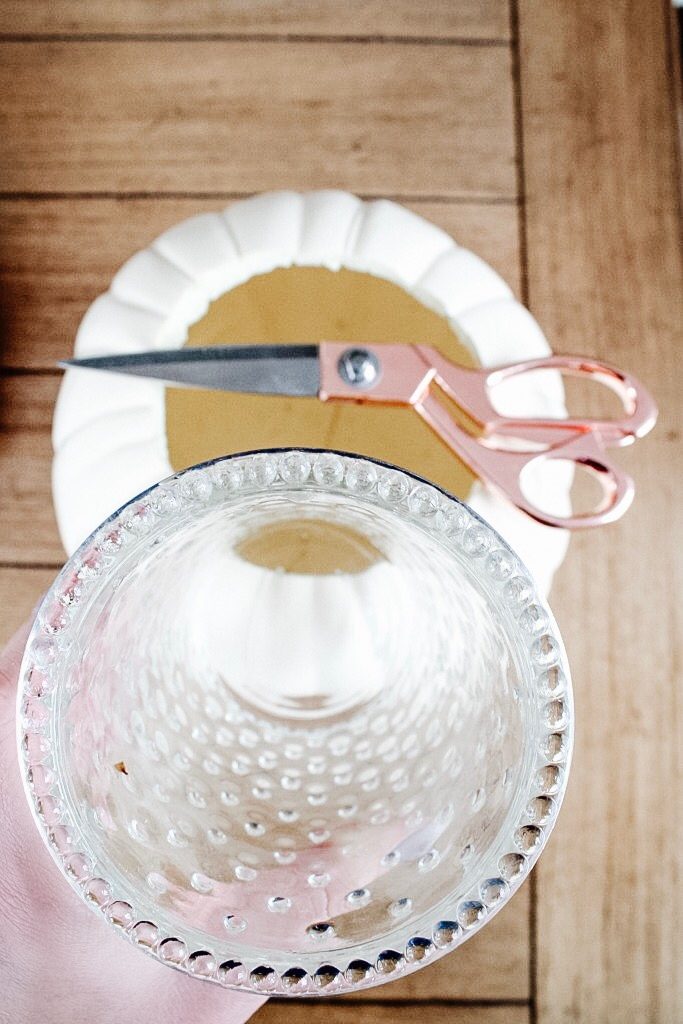
Short on vases? A mason jar, glass or realllllllly any container will work – you’re not going to see it once it’s inside the pumpkin.
Then, care for the flowers as normal.
Any flower care suggestions?
- Get your flowers into water as soon as you can.
- Before arranging, strip all the greens that will be submerged in water.
- Base your pumpkin arrangement with greenery first for a more natural look.
- Change your water daily – or at least every two days.
- Trim the stems at an angle daily.
- Cut flowers prefer cooler temperatures so avoid putting them in direct sunlight as this will cause them to overheat and wilt.
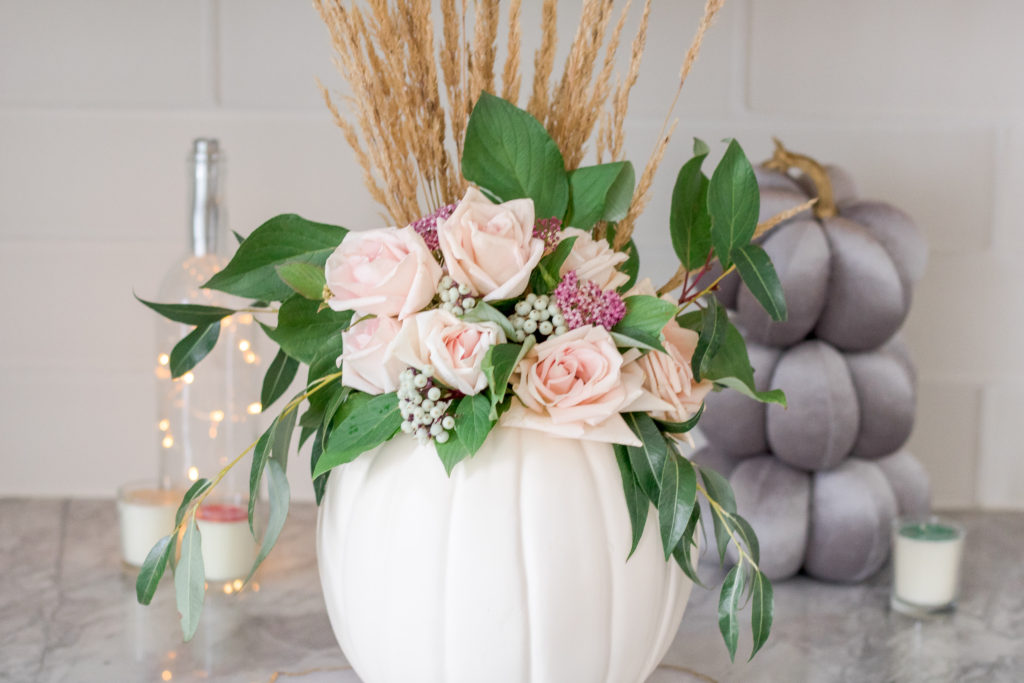 Can I use floral foam instead of a vase?
You bet! I just love how easy it is to care for cut flowers when using a vase. Plus, I have a lot around the house – so it’s cheaper!
But floral foam is definitely an option. I would recommend lining the craft pumpkin with plastic, though, so you can continue to use the vase for years to come.
Can I use a real pumpkin as the vase?
Absolutely! The same idea applies – just cut off the top and scoop out all the innards with a metal spoon. Keep in mind, though: fresh pumpkins spoil. I’ve heard that some people add water directly into the pumpkin. However, to best extend the life of your flowers, I’d recommend lining the pumpkin with plastic and using floral foam or inserting a vase or container directly into the pumpkin.
What if I cut the hole in the craft pumpkin too large?
If you know what vase you’re going to use, I’d suggest tracing its widest side onto the top of the craft pumpkin and then cut out the hole, only slightly larger. However, if you cut the hole too big (I’ve been there) try:
- securing the vase in place by lining the pumpkin with crushed paper or plastic (even leftover plastic bags will do – LOL – ‘aint nobody gonna see it).
- look around your home and see if you have another vase, glass or container that works better with the size of the hole.
- strategically cover the wide opening with greenery.
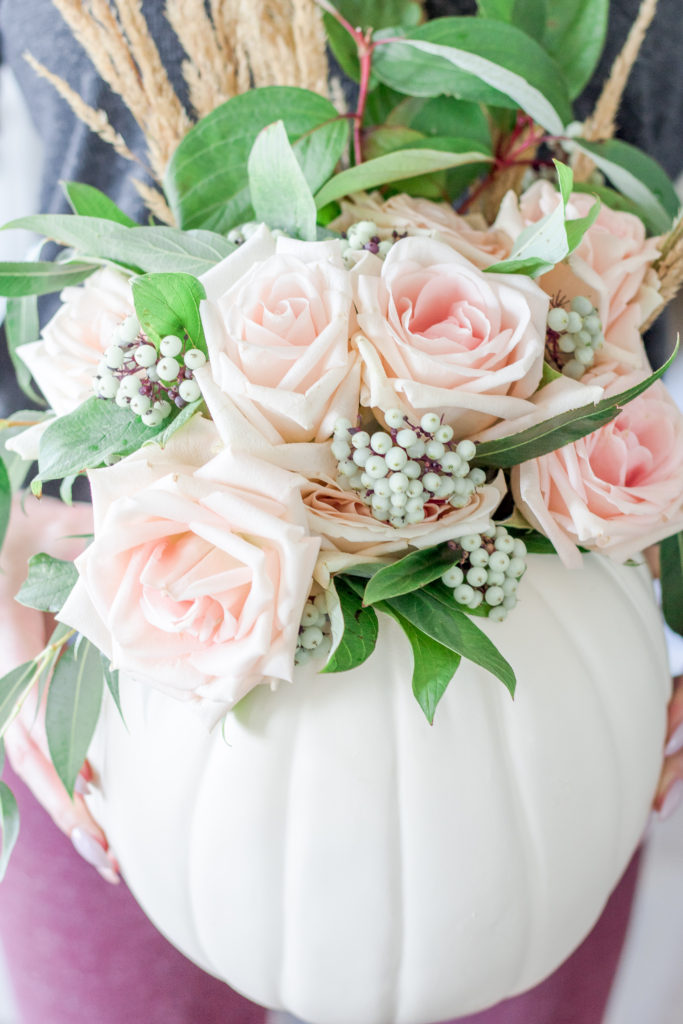 Can I use faux flowers in my DIY pumpkin vase?
Yes, of course. Once my fresh flowers are done I’ll often transition to a faux flower arrangement.
Hope this post answers all your questions and inspires you to try your hand at a DIY pumpkin vase this season. If you have any other questions, I’m happy to answer them in the questions below.
xo Holly Hunka
Think you’d like to give this DIY Pumpkin Vase a try? Give this post a Pin!


[…] it or not, you can make one for yourself in less than ten minutes! I’ve dedicated an entire blog post to answering all your questions and giving step-by-step directions on creating a centerpiece using […]
[…] an earthy twist on the pastel pink pumpkin vase I created last year (be sure to check out the tutorial) and I’m loving the texture and interest it’s adding atop our farmhouse […]
[…] it or not, you can make one for yourself in less than ten minutes! I’ve dedicated an entire blog post to answering all your questions and giving step-by-step directions on creating a centerpiece using […]
[…] Source: Easy DIY Pumpkin Vase • DIY Pumpkin Thanksgiving Centrepiece • Chandeliers and Champagne […]