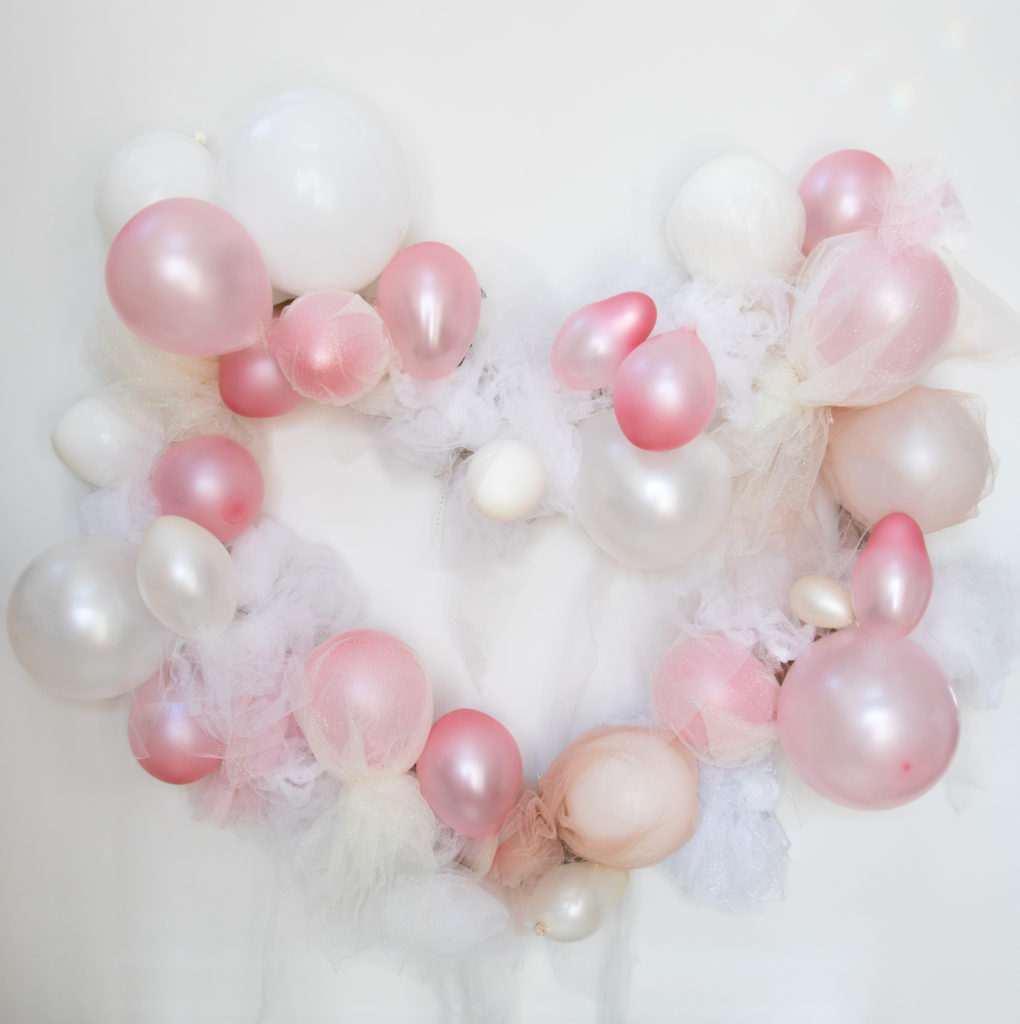
“Finally, a use for the box my baby’s car seat came in!” said no one ever… until the day I decided to create a gigantic tulle balloon heart.
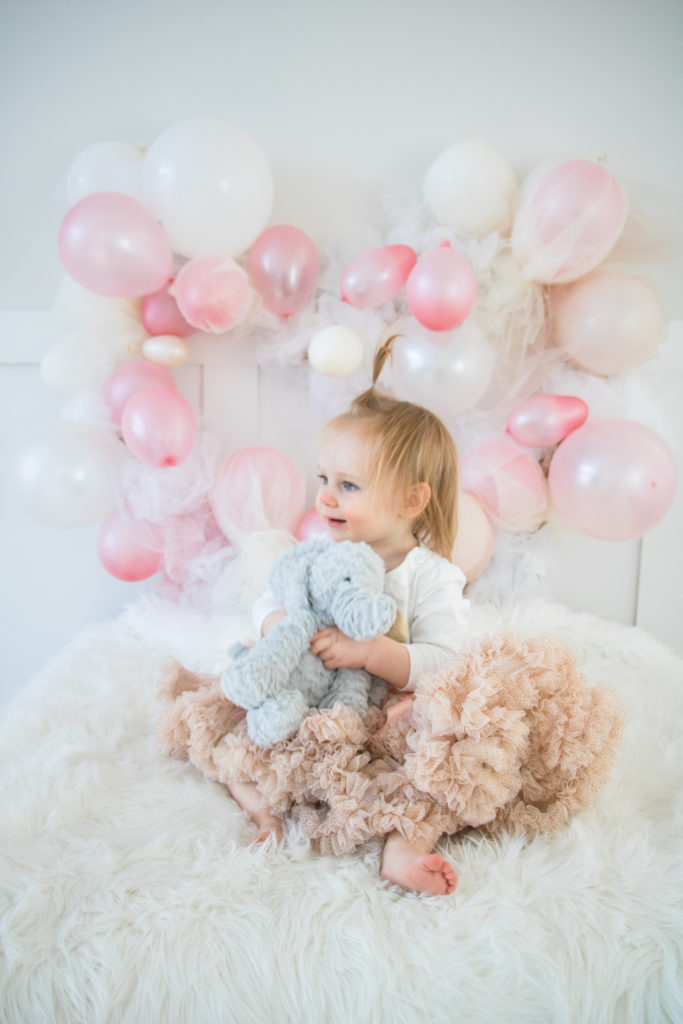
What can I say, Pinterest is a tricksy mistress.
The other day I was enveloped in the Pinterest black hole. You know, the one you plan to enter for five minutes but emerge from half an hour later with a million crafting ideas. I’d been looking up bridal shower themes for my sister when I came across all kinds of amazing balloon art. I’m talking balloon wall arches, balloon hearts, balloon stars – you name it.
Fortunately, I was three coffees deep and feeling pretty extra that day, so I did the logical thing and braved a snow storm to hit up Michaels and raid their balloon aisle. I figured that Valentine’s Day was the perfect excuse to get crafting.
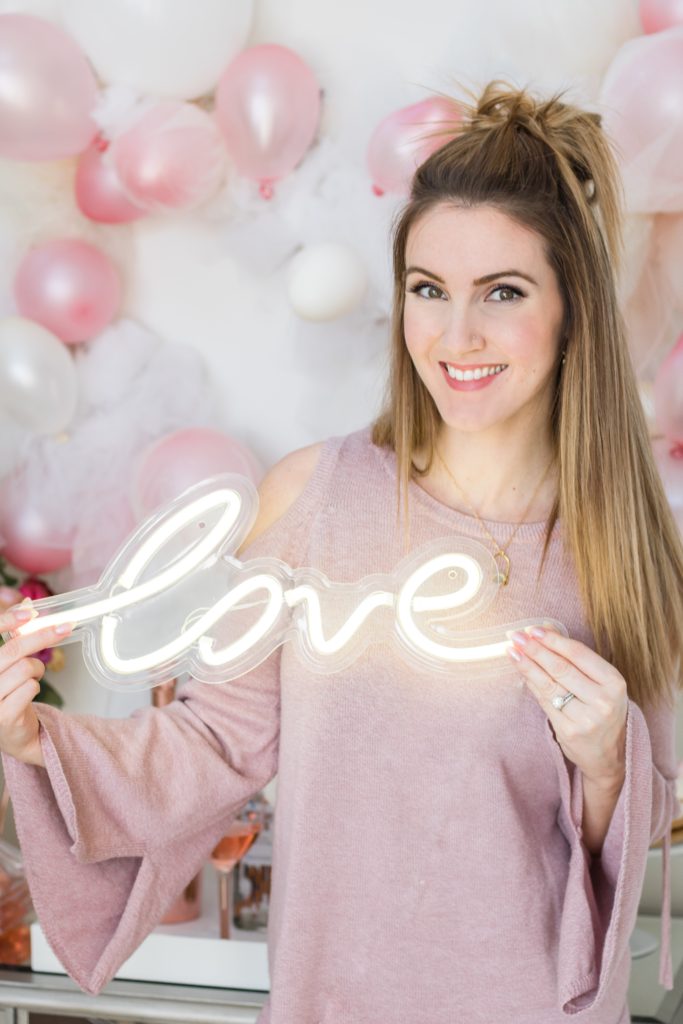
Most of the balloon art tutorials I came across online involved projecting an image onto a wall and taping up the balloons to match the shape. And damn, did they look good. But personally, I’m not taking any chances taping balloons straight to my walls. The last thing I need is for the tape to strip the paint off. Talk about the most expensive craft of all time!
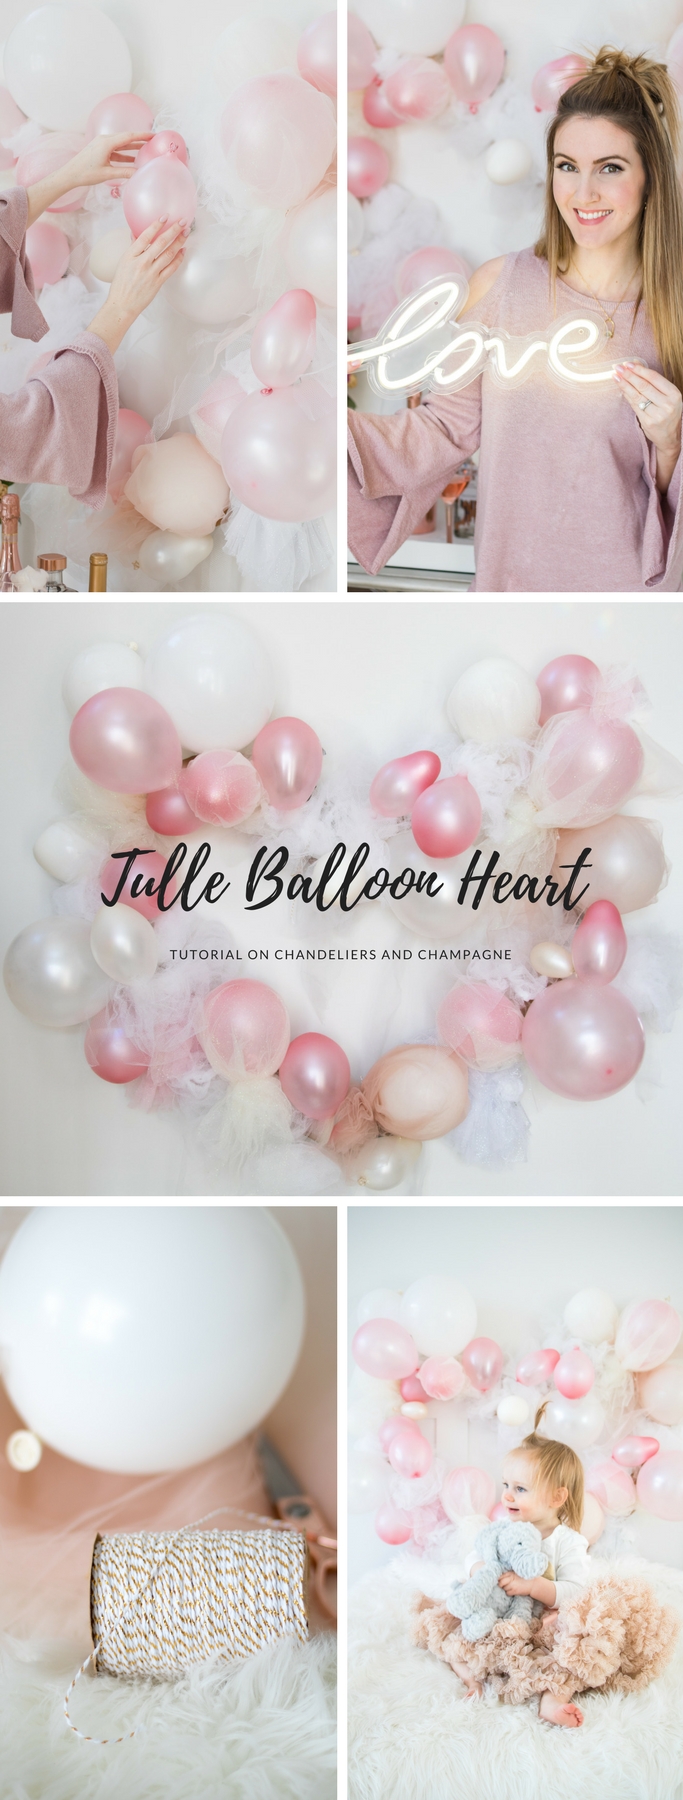
I also wanted to do something a bit different. I decided to make the wreath more romantic by incorporating tulle. So here’s the step-by-step process I made up… and hey, it actually worked!
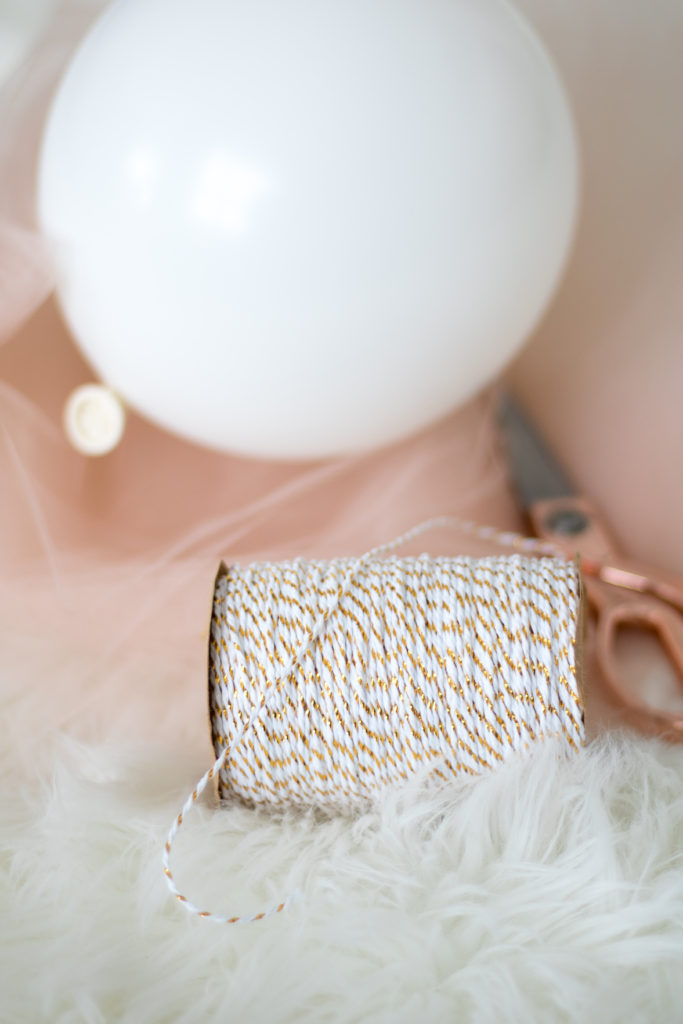
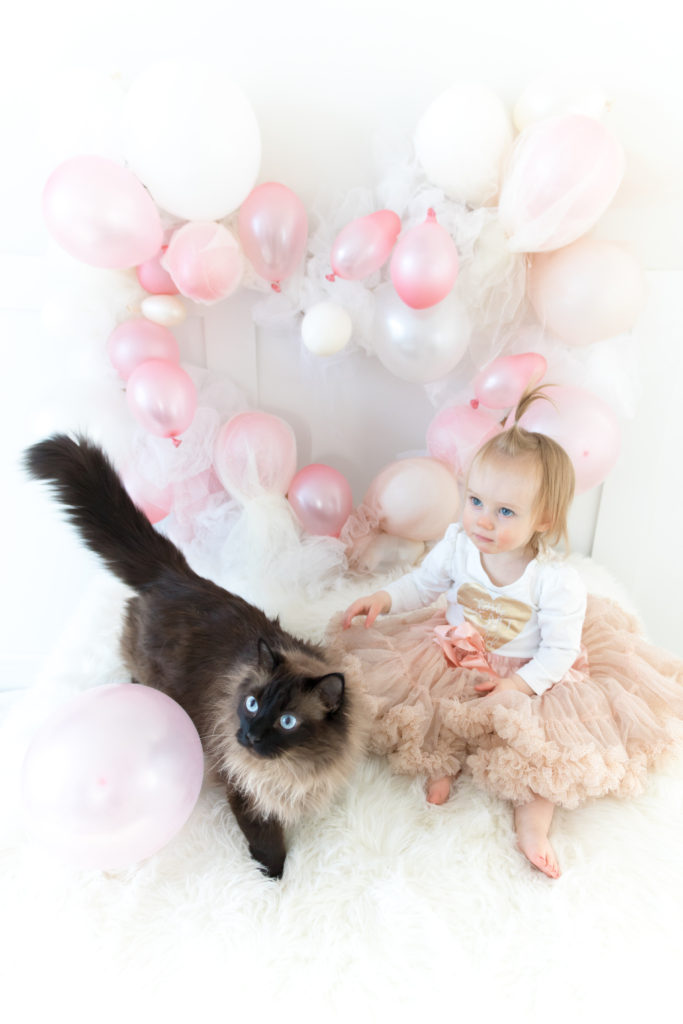
Tulle balloon heart tutorial
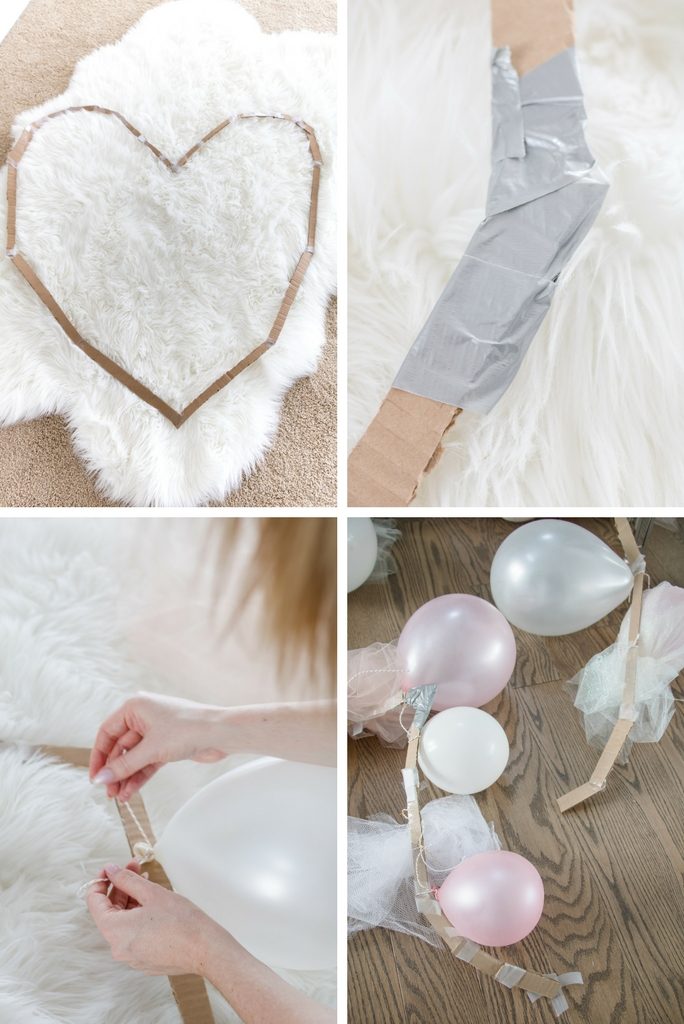
First, I folded a large piece of cardboard in half, drew a half heart on one side and then cut it all the way through (use an x-acto knife if you have one) so that the shape was mirrored on both sides. I then did this a second time to create a heart frame that was 3.5 inches thick.
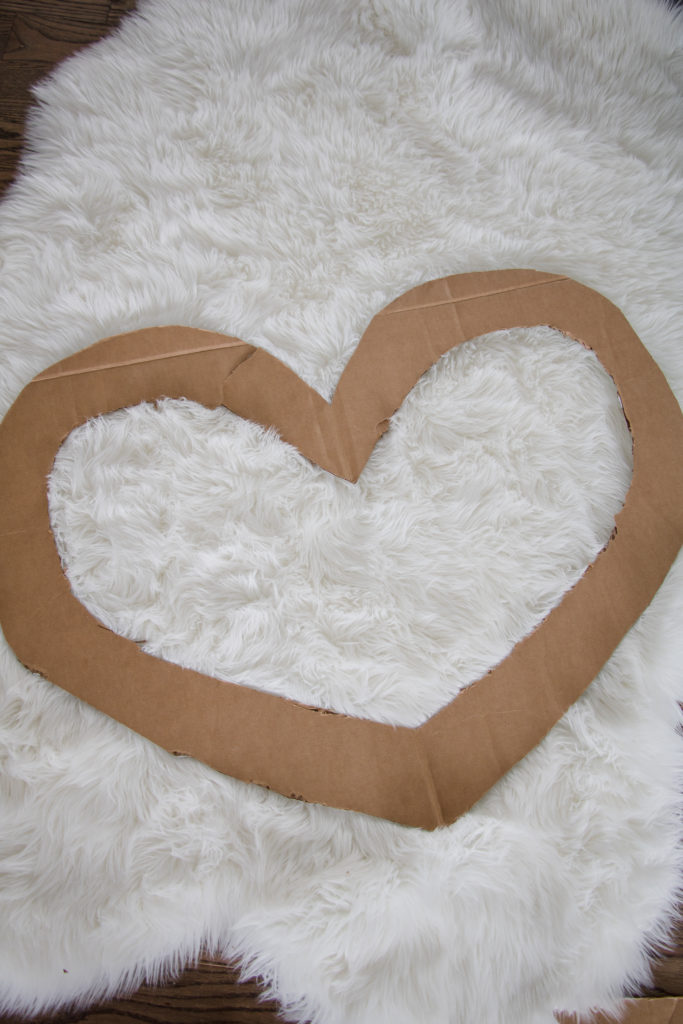
Next, I blew up pink, white and cream balloons in varying sizes, keeping the dimensions of my cardboard frame in mind (38 by 40 inches). I didn’t fill any of the balloons to capacity – and some were quite small.
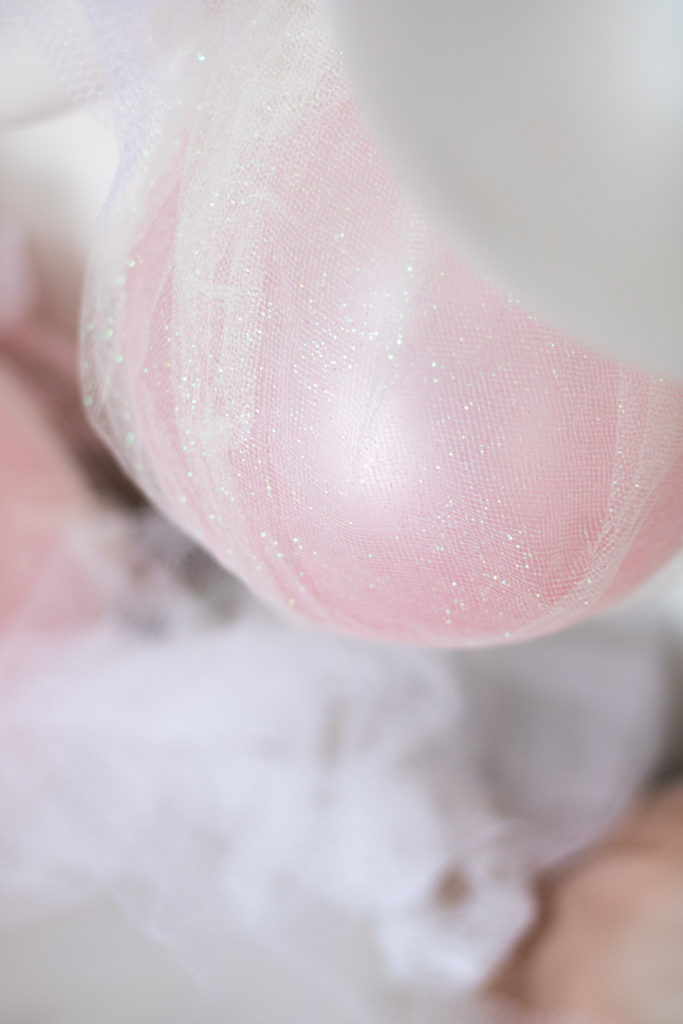
To add dimension, I covered a few balloons in either pink or white sparkly tulle.
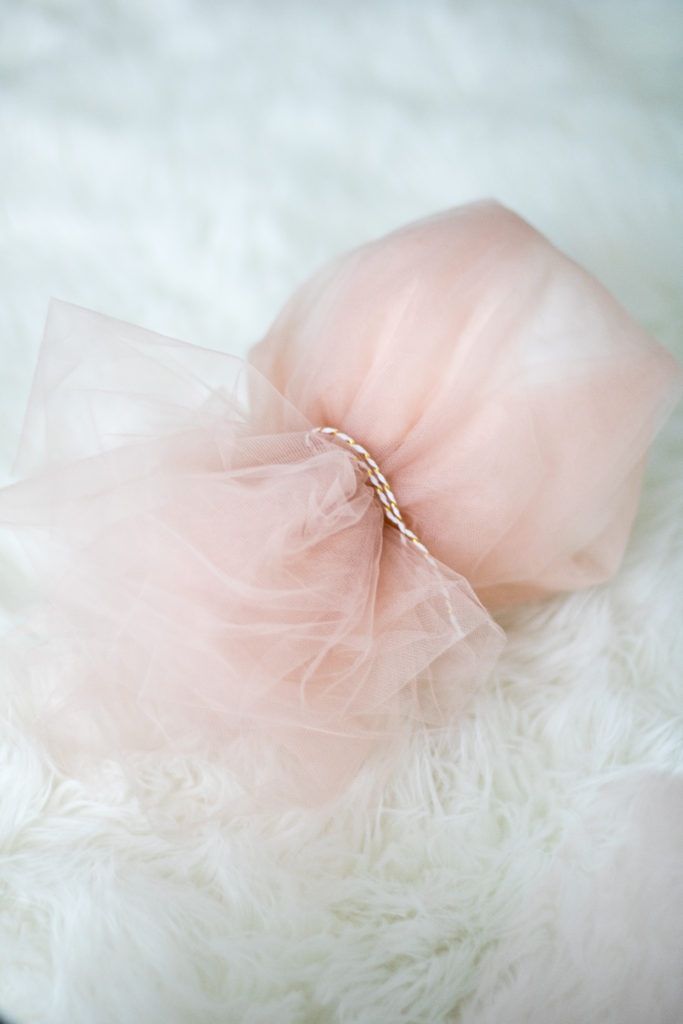
I also cut some white tulle into strips, bunched them together and tied them in the centre to create pompoms. I then affixed the balloons and pompoms to the frame.
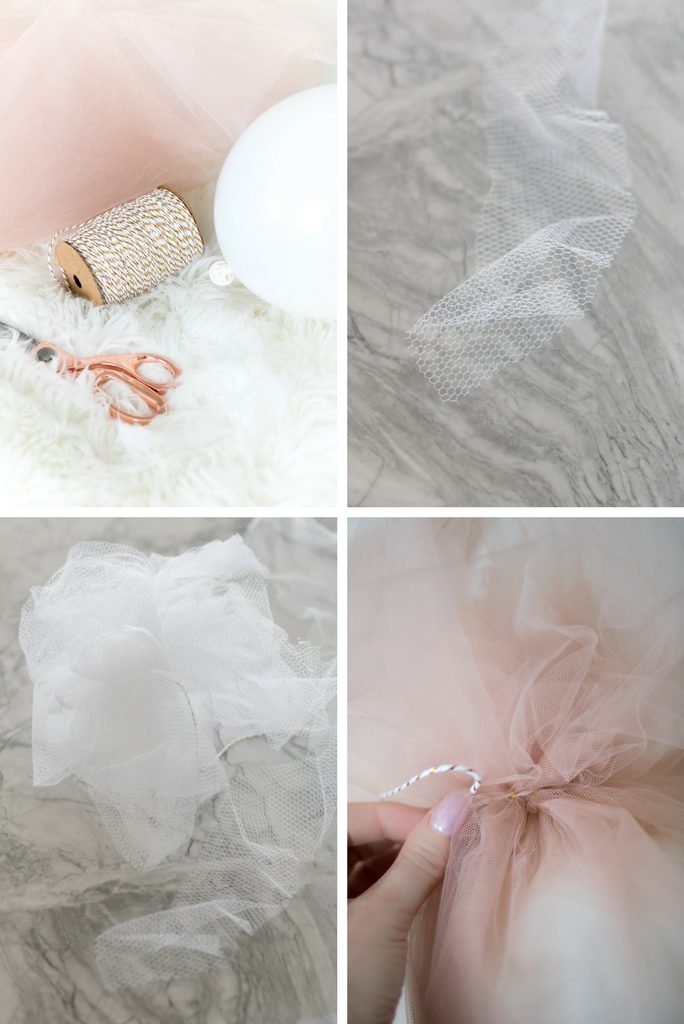
My original thought was to use a combination of double-sided tape and duct tape, but I noticed they didn’t have the best holding power. I wanted to be able to move this thing around to take some cute photos with Elle, and needed it to be durable. I therefore chose to tie the balloons in place by looping them around the frame.
From time to time, as you’re attaching the balloons, take a step back and put your heart in an upright position (instead of flat). It’s important to make sure your balloon and tulle placement is following the shape of the heart. I noticed I had to readjust the balloons in the arch-area a couple times.

After my tulle balloon heart wreath was pretty much filled out, I taped down all of the string in the back to keep everything in place. That was probably overkill, but I was able to move this thing around from room to room and mount it on the wall for my Valentine’s Day bar without any issues.
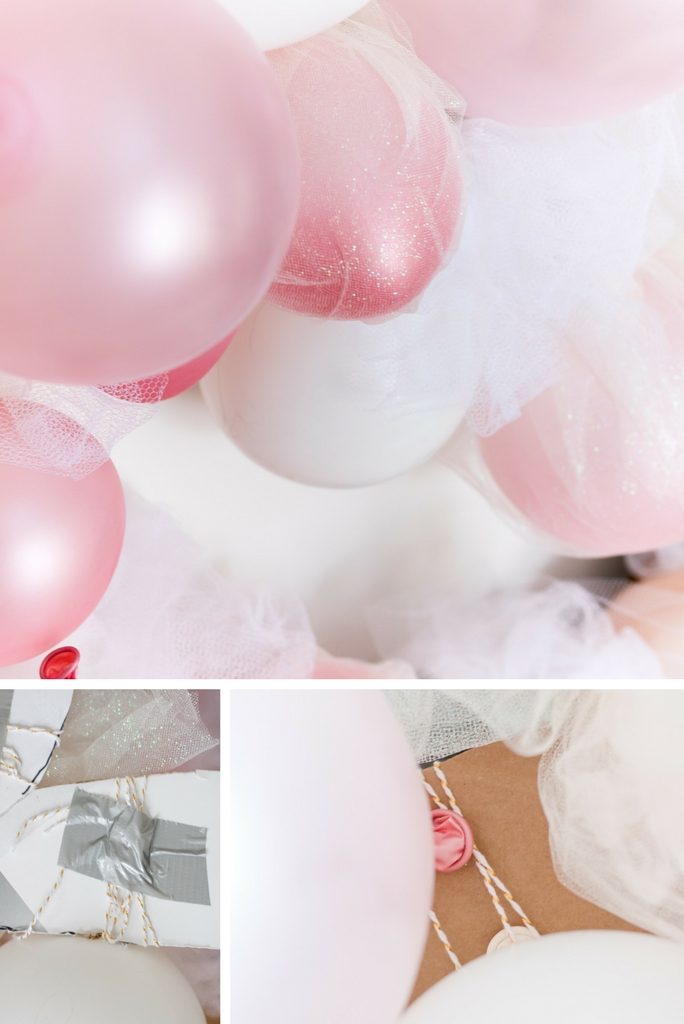
For the record – this wreath was almost a fail
Now, just for the record, this tulle balloon heart wreath was almost a fail.
I don’t know if you’ve ever tried to cut thick cardboard before, but it can be difficult. Originally, I figured I would cut smaller strips of cardboard and piece them together in a heart shape. I reinforced the pieces with duct tape to make them extra strong.
Well, in case you’re considering this approach, know that it won’t be strong enough. After adding a few balloons and pieces of tulle, my heart shaped buckled and then broke when I held it up!
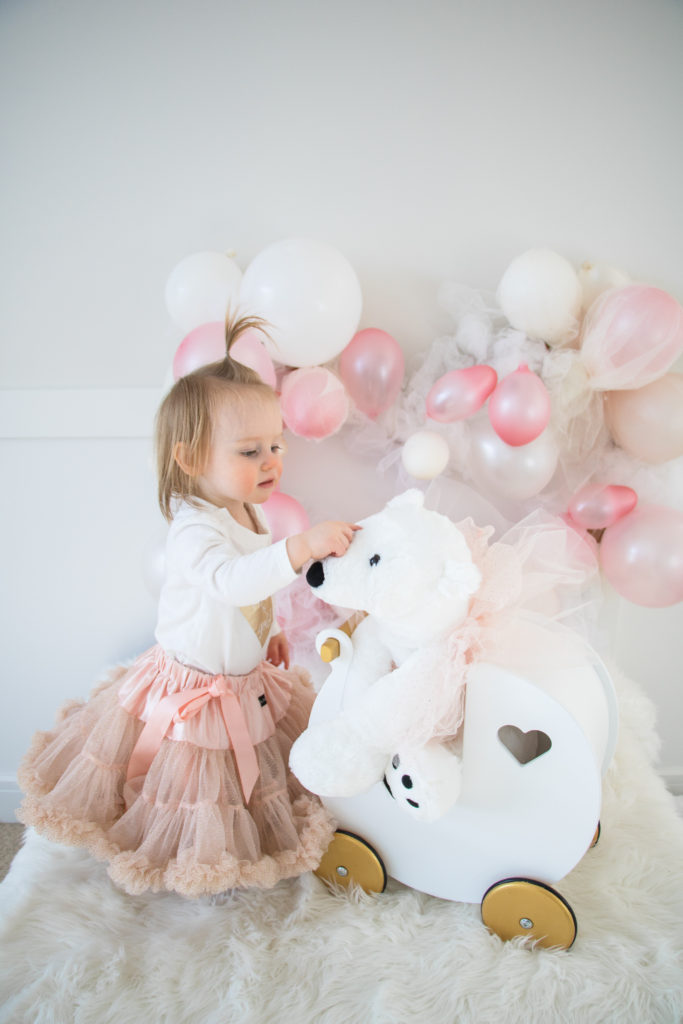
Thanks so much for checking out my tulle balloon heart tutorial. If you’re considering giving it a try – whether it’s for Valentine’s Day, a baby shower or bachelorette party – give this article a Pin! You can also check out more photos on my Blushing Balloon Valentine’s Day Bar post.
xo Holly Hunka
Pin me:
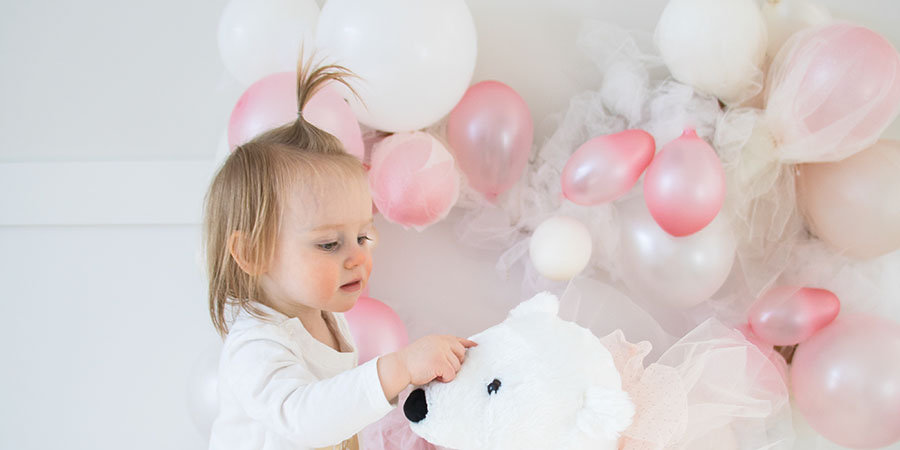

[…] If you were following along with me last year, you might remember that I created a fun Valentine’s Day bar featuring a large and in-charge tulle balloon heart backdrop. […]