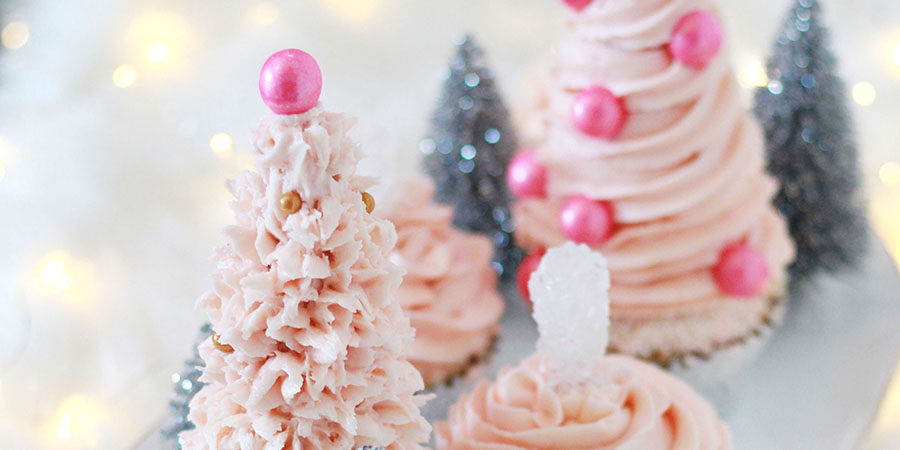
Looking to get into the holiday spirit with a little Christmas baking? I’ve got you covered with these falalala-fabulous Christmas tree cupcakes!
They’re the perfect activity to try with your little ones, or you can whip them up for a fun and festive ladies’ wine night.
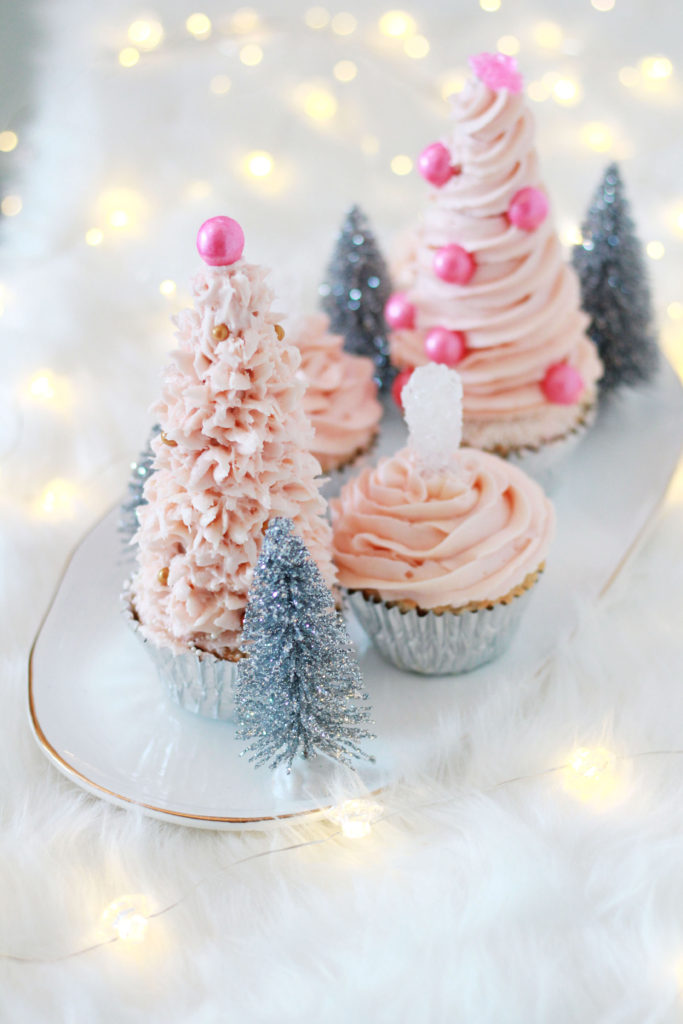
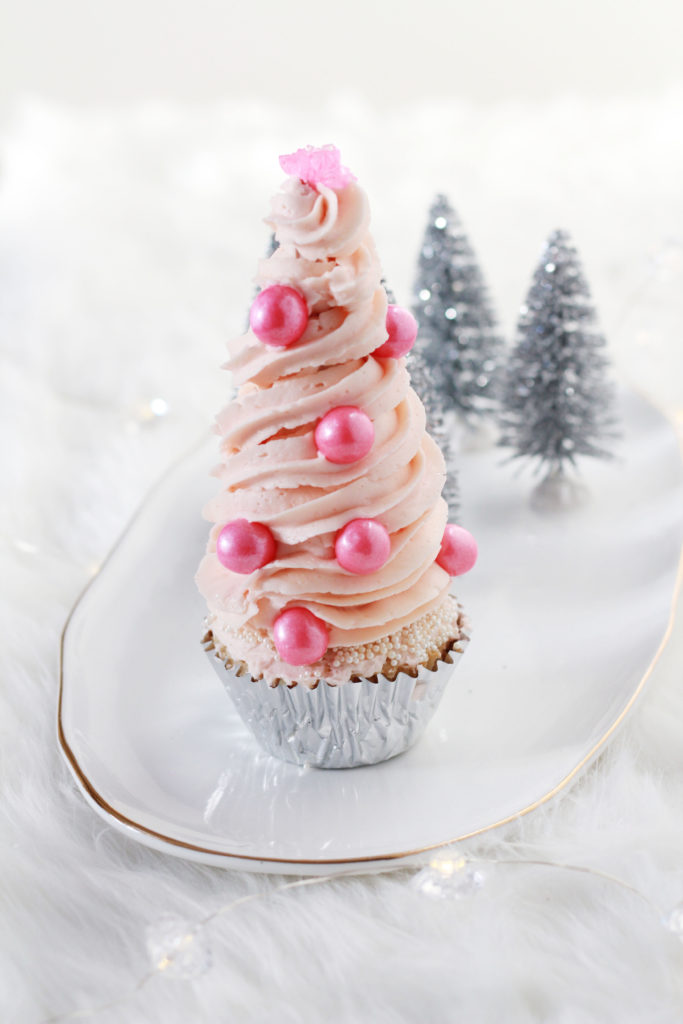
They’re also super easy! Trust me, when it comes to doing anything even mildly artistic, I’m a hot mess. If I managed to make these Christmas tree cupcakes, you can too! Here’s how:
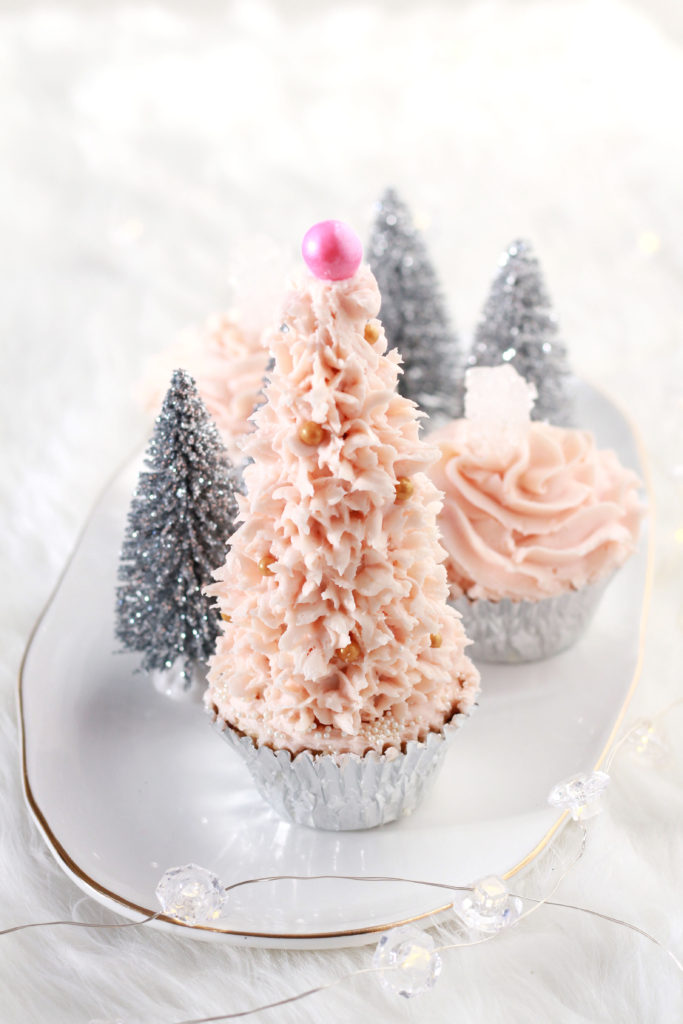
Christmas Tree Cupcakes
Yields 6
You’ll need:
- 6 cupcakes of any flavour
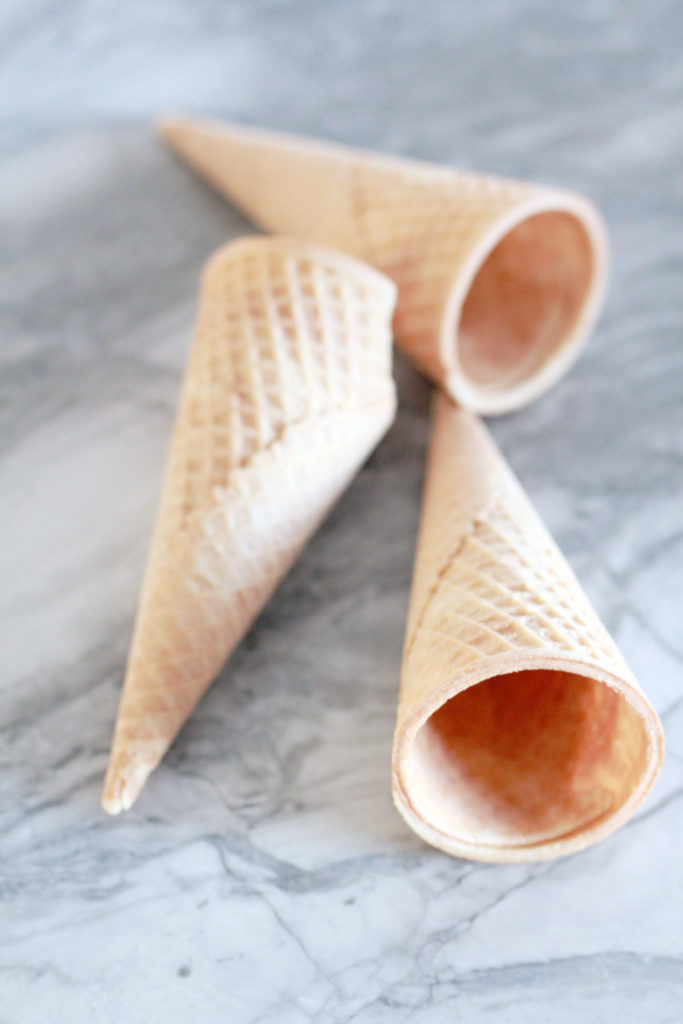
- 6 ice cream cones
- Decorations for your tree. I used:
Buttercream icing:
- 1 cup unsalted butter, softened
- 3 cups powdered (icing) sugar, sifted
- 1 tsp vanilla extract
- 2 tbsp heavy whipping cream
- 2-3 drops red food colouring
Special equipment:
- Pastry bag
- Star-shaped piping tip (I used a Wilton 1M open star)
- Stand mixer with whisk attachment
- Muffin pan
Directions:
For the icing:
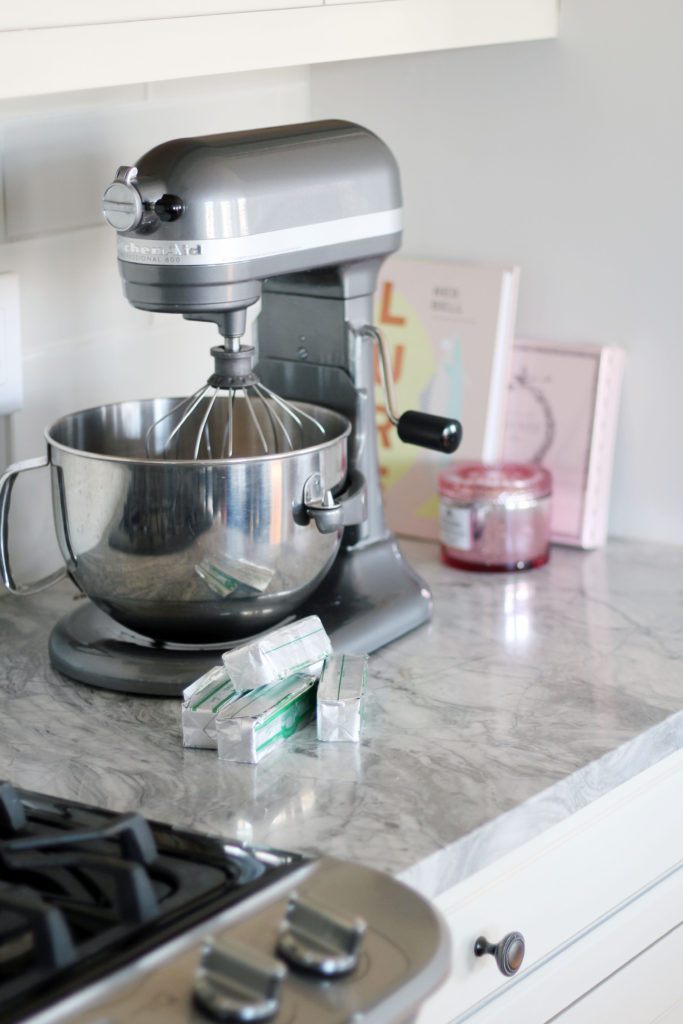
- Prepare a stand mixer with a whisk attachment. Whisk the room temperature butter until creamy.
- Reduce the speed to low and add the powdered sugar, 1 cup at a time, until well-blended. Increase speed to medium and beat for 2 minutes.
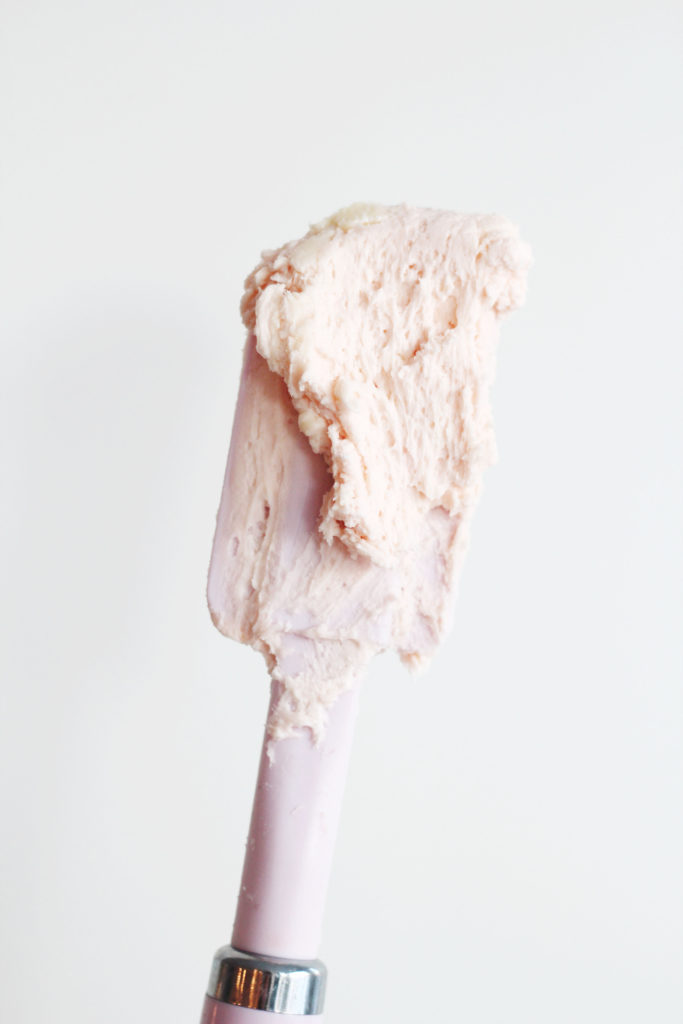
- Add the vanilla, cream and food colouring and continue to beat until desired consistency and colour is reached, about 2 minutes.
To assemble:
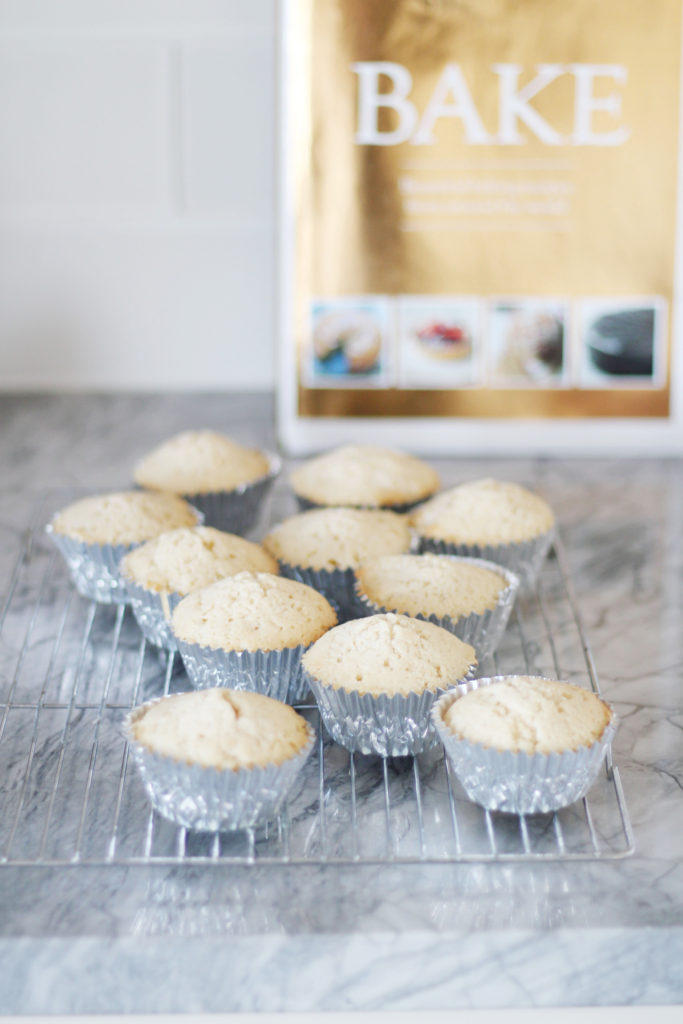
- Purchase or use your favourite recipe to bake the cupcakes that will act as the Christmas tree base. The type and flavour don’t really matter – just make sure you choose a cute liner (I went with metallic silver)! Ensure the cupcakes have cooled before decorating.
- Use a spoon or spatula to cover the top of the cupcake with a thin layer of icing.
- Use a spoon or spatula to cover an ice cream cone with a thin layer of icing. This initial rough coating will help the icing that you pipe on stick better.
- Once frosted, place the cone – point up – in the centre of the cupcake.
- To give the appearance of snow on the ground, sprinkle white pearls or sprinkles on the cupcake at the base of the cone.
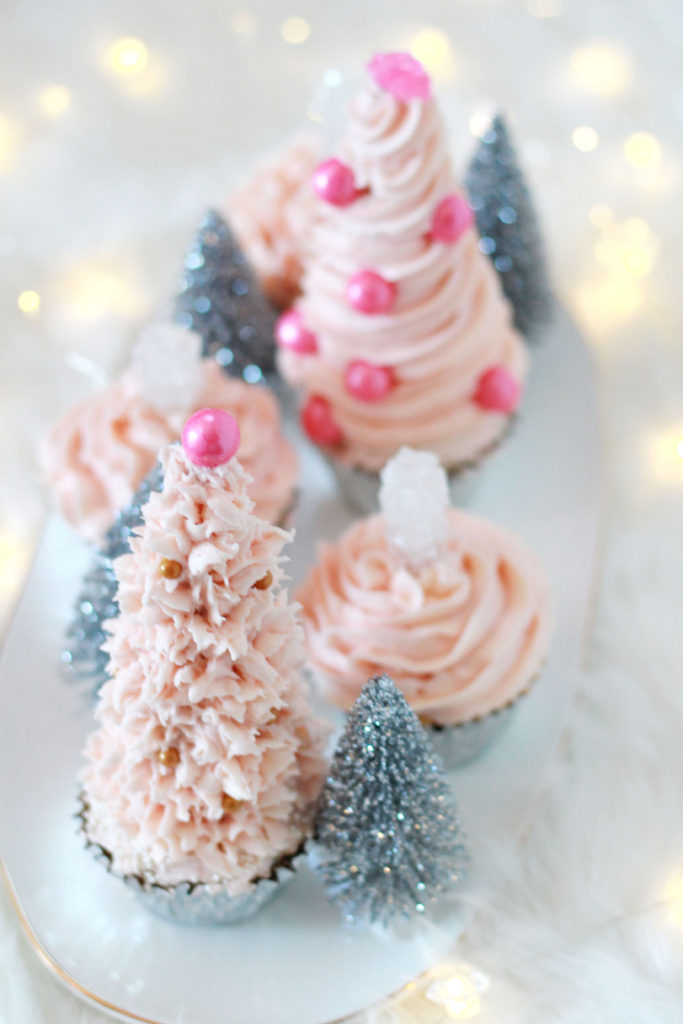
- Using a piping bag and star-shaped tip, pipe dollops onto the surface of the cone to give the appearance of pine needles. Start at the bottom of the cone and work up. If you prefer, you can also pipe the icing as one long swirl, starting at the bottom and working up to the top.
- Decorate your tree. I used gold pearl balls, rock candy and pink shimmer gum balls as ornaments!
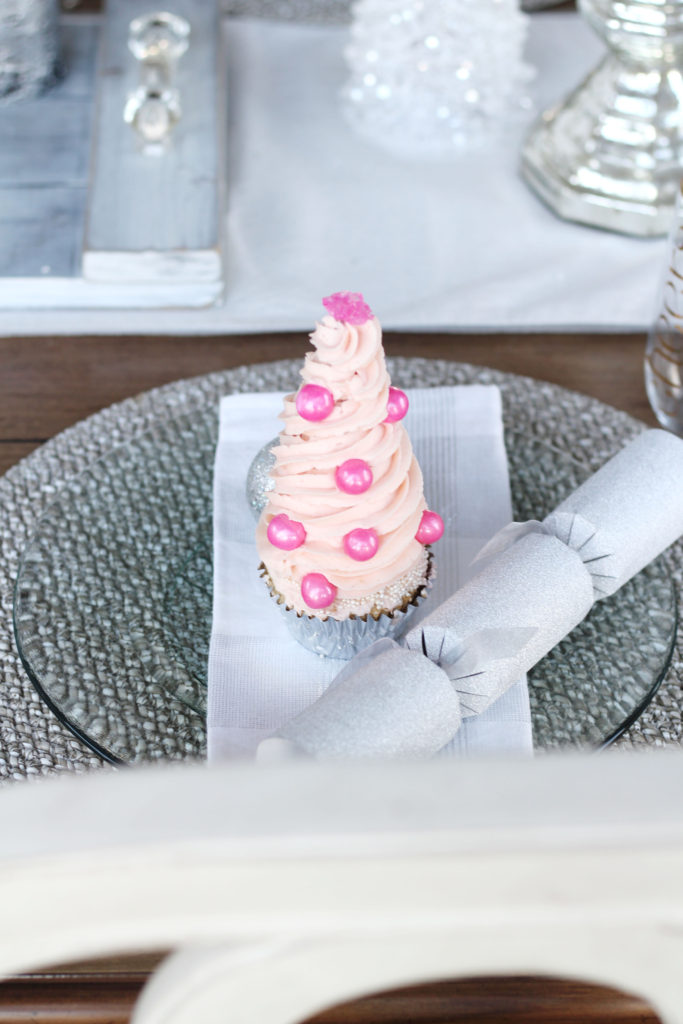
- Enjoy your delicious creation. You can even use them as decor on your Christmas tablescape!
In need of some equipment to make these pink Christmas tree cupcakes? Or perhaps you have a few more Christmas gifts to buy for the bakers in your life? Check out these gorgeous kitchen products I’ve rounded up!
Let me know if you tried out these fun Christmas tree cupcakes in the comments below. Merry Christmas!

Did you enjoy this post? Give it a pin!
xo Holly Hunka

[…] SOURCE […]